
Wild animals may be charming in nature, but when they make their way into your attic, the damage can be anything but endearing. From squirrels and raccoons to bats and birds, these uninvited guests can wreak havoc on your insulation, wiring, and structural components—sometimes without you even realizing it.
So what happens when the scratching, odors, or droppings reveal a wildlife intrusion? That’s where professional wildlife damage repair experts come in. Their role is to inspect, identify, and restore your attic while ensuring future infestations are prevented.
Here’s how the process typically unfolds from start to finish.
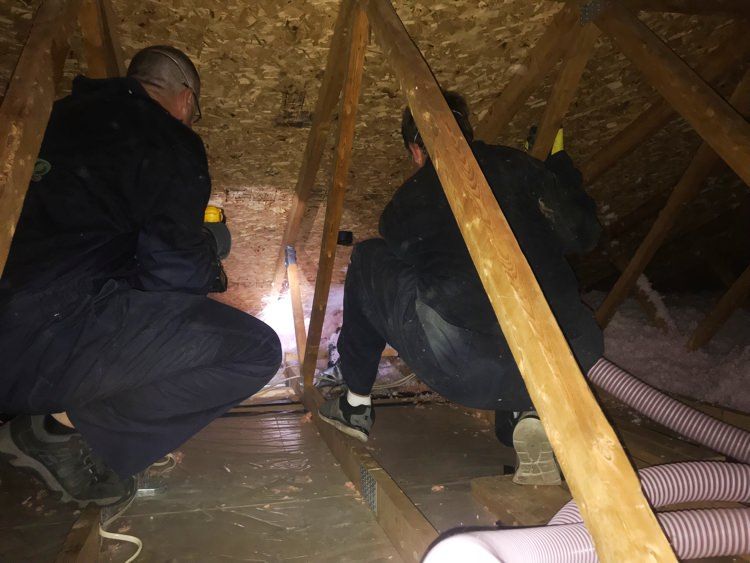
1. Comprehensive Inspection and Assessment
The first step is a detailed inspection. Professionals enter the attic to look for visible and hidden signs of wildlife activity.
They Check For:
- Chewed wires and ducts
- Torn or compressed insulation
- Nesting materials and food remnants
- Feces, urine stains, and strong odors
- Entry points like holes, vents, or roof gaps
Using flashlights, thermal imaging, and moisture detectors, they build a full picture of the damage caused and how the animal accessed your home.
2. Identifying the Wildlife Intruder
Different animals cause different types of damage, and each requires a specific repair and prevention strategy.
Typical Culprits Include:
- Squirrels: Chew insulation and wiring
- Raccoons: Tear apart ductwork and insulation
- Bats: Leave guano that poses health hazards
- Birds: Nest in vents and eaves
- Rodents: Create tunnels through insulation and leave droppings
Once the species is identified, experts tailor their removal and repair approach accordingly.
3. Safe Removal and Sanitation
Before any repairs begin, wildlife must be removed using humane, regulated methods such as one-way exclusion devices or live traps.
After removal:
- Droppings and urine are cleaned using disinfectants and biohazard protocols.
- Odors are neutralized to prevent attracting new animals.
- Contaminated insulation is disposed of and prepped for replacement.
This step ensures your attic is safe for both repairs and future use.
4. Wildlife Attic Damage Repair
The core of the process involves repairing structural and environmental damage caused by animal activity. This includes everything from minor patchwork to full restoration.
Common Repairs Include:
- Replacing insulation
- Fixing or replacing chewed electrical wiring
- Sealing holes and reinforcing vulnerable areas
- Replacing air ducts or vent covers
- Restoring wood or drywall damage
During wildlife attic damage repair, professionals use pest-resistant materials and insulation types to help discourage future intrusions. Some also install attic ventilation or moisture barriers as part of a full restoration service.
5. Sealing and Animal-Proofing the Attic
To prevent re-entry, experts will identify and seal all potential access points using:
- Heavy-duty wire mesh over vents
- Metal flashing for roof edges
- Reinforced soffits and fascia boards
- Sealing gaps around pipes or chimneys
In some cases, repellents or deterrents may also be installed in high-risk areas.
6. Follow-Up and Monitoring
Many companies include a follow-up visit to ensure no wildlife has returned and that all repair work is holding up as expected. They may also recommend:
- Routine attic inspections
- Seasonal checkups
- Pest management plans for long-term protection
Conclusion
Wildlife infestations in the attic aren’t just an inconvenience—they’re a serious threat to your home’s structure and your health. By calling in professionals for wildlife attic damage repair, you ensure a comprehensive approach that covers inspection, removal, repair, and prevention. With the right help, your attic can be restored to a clean, safe, and secure state—one that’s unwelcoming to future furry invaders.