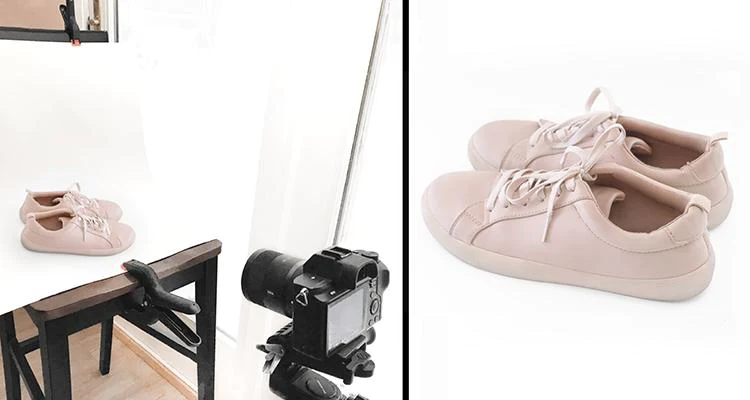
The first photograph was taken in the early 1800s. Since then, photographic technology has advanced in leaps and bounds!
If you’re trying to sell products, taking beautiful photos with the proper lighting makes your pictures stand out and helps you make more sales. But what type of product photography lighting should you use? Making the right choice can enhance your photographs, whereas bad lighting could make it difficult to see your item.
The good news is that front, side, and low lighting each have their benefits when taking picture-perfect product photos.
Let’s dive in and learn more.
Table of Contents
ToggleFront Lighting
Front lighting can be a good choice for product photography as it is easy to set up and evenly illuminates your product.
You can also use a front light as natural or artificial illumination. This can be useful if you are an amateur photographer and don’t want to spend money hiring a professional.
However, front lighting can create less striking images than other lighting options. To get more exciting results, add unique colors behind your pictures. Read about best color backgrounds for inspiration.
Side Lighting
A side-lit product photography setup can add extra depth and texture to your product image.
These lights are great at showing off product features—use the shadows created by a side light to highlight certain factors. Don’t be afraid to play with the angles of your side lights to create different effects.
One disadvantage is that side lighting can make one side of your product look washed out if you don’t set up the lights correctly. One way to ensure your image looks great on both sides is to use props.
For example, if you’re taking pictures of a table for sale and you’re worried one side looks drab, you could include a chair on the other side. This will look natural while also sprucing up your image.
Low Lighting
Photographing products using low lighting is the right choice if you want to create a sense of drama.
The resulting images entice consumers to look closely for a better view of your product. It also makes it easier to see all the features of a product.
This effect can be tricky to achieve, and it may take a few attempts to get a satisfactory image. But when you get it right, the effort is worth the wait. It’s almost guaranteed to attract many customers to your sales pages.
Experiment With Different Product Photography Lighting Techniques
Choosing suitable product photography lighting has the potential to make your products stand out.
Front lighting is ideal if you’re just starting out in product photography, while side lighting provides extra depth to your images. Low lighting adds an element of suspense that might lead to increased sales.
Try out each lighting type to see which is best for your products.
If you’ve enjoyed reading this post, check out more of our helpful blog articles before you go.
Categories
Recent Posts
Advertisement


